
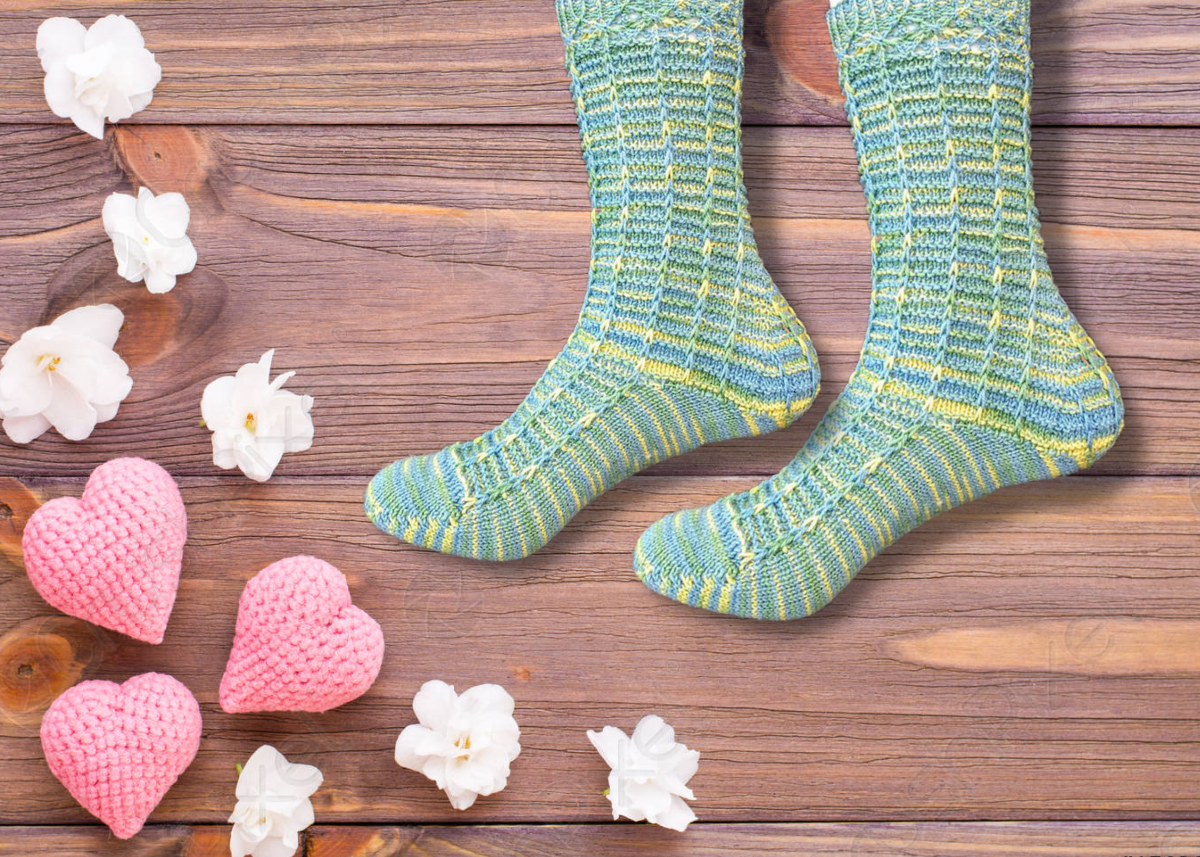
How to Knit Socks?
Even though personalized socks are the new z thing these days, but knitting the socks by yourself and gifting them still have emotional values attached to them.

Many people think that socks are too hard, but don’t worry! This tutorial will provide step-by-step instructions and pictures for making your first pair of socks.
Knitting socks is the easiest way to learn the basics of knitting. You can knit some plain socks while learning the basics of knitting, like casting on and off, using double-pointed needles to make slipper socks with yarn and then move on to different patterns that challenge your creativity.
So sit back and get comfortable! We’re about to demystify the fun and exciting world of knitting socks.
The Quick & Easy Way to Knit Socks
Choosing Materials for Knitting
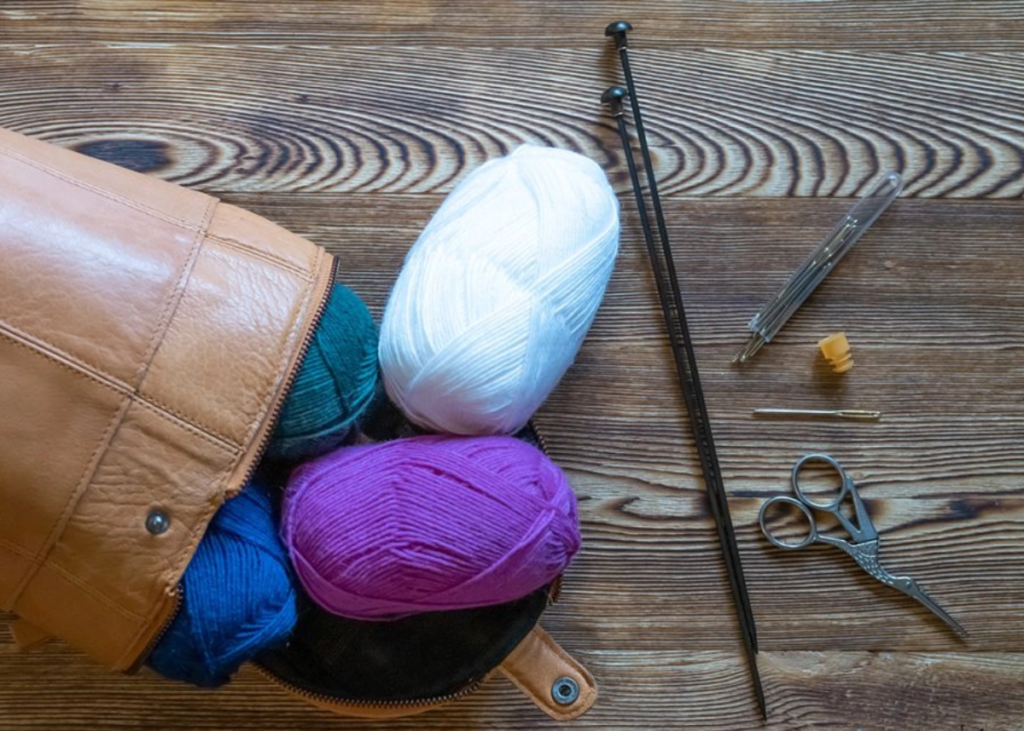
If you are a beginner, it is better to choose the material that will be comfortable to wear. For example, if you do not like wool socks, it is better not to knit them from this material.
If you are an experienced knitter and have decided on this project, consider your skills and abilities. If your experience allows for knitting socks with cable or lace patterns using several strands of yarn at once, then perhaps these socks would be good for you.
Casting on Stitches: How to Pick a Pattern?
Casting on is the first step in knitting socks. It is also called casting on or binding off — the process that creates the base for your first row. This can be done with either needles or a crochet hook. It involves casting stitches onto the needles, then used to make the fabric.
When you knit your first sock, you should ensure that your cast-on is strong enough to hold together. The best way to do this is to use an elastic cast-on stitch to keep its tension throughout the knitting process.
Cast on stitches will depend on the pattern you follow and your own preference, but generally speaking, the number of stitches starts from 8-10 total and increases from there as you knit more rows. You will usually cast on double that amount so that there are two loops per stitch when working with continental-style knitting.
The number of stitches you cast on will vary based on the size of your foot and the sock pattern you’re using.
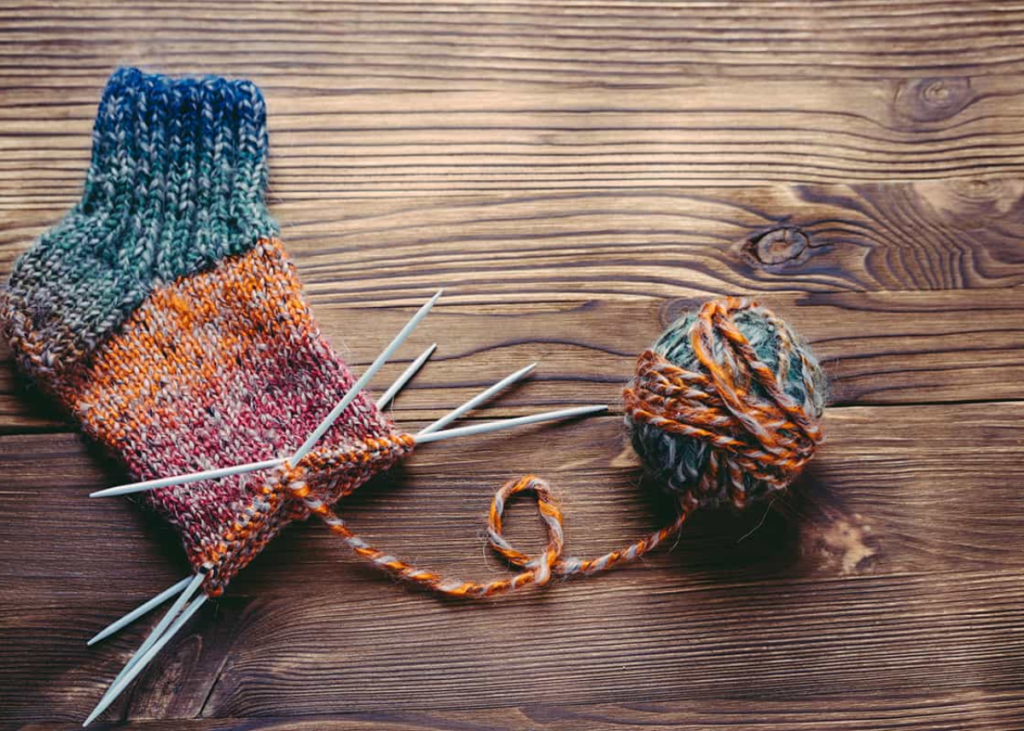
Knitting the Gusset and Heel Flap
The gusset and heel flap are the two parts of a sock that are worked back and forth. The gusset is a triangular-shaped piece that is added at the bottom of the foot to fit more snugly around the ankle. The heel flap is a strip of fabric that extends from the heel, up over the top of the foot, and then back down again, forming a triangle-like shape that forms the heel of your sock.
Step 1: Socks can be knit either top-down or toe-up. In both cases, you will start with a very long circular needle and cast on stitches for both the toe and the leg.
Step 2: If you plan to knit socks from the top-down, you’ll knit straight until you reach your desired length.
Step 3: You’ll then knit several rows in stockinette stitch before starting your decreases — this will help form an even edge.
Step 4: If you’re knitting from toe-up instead, after casting on all your stitches, you’ll begin by knitting straight until your sock reaches about 1 inch tall.
Step 5: You might want to try out the socks once you’re done with the gusset and the size and fit of the socks can change from person to person.
Making the Foot and Toes
To finish the toe, you can use any method that works for you.
Step 1: You can use a tapestry needle, thread one of your yarn ends through the first stitch on your dpn ( Double Pointing Knitting Needles), and then back out and over itself again.
Step 2: Thread your tapestry needle into the next stitch on your dpn as if you were going to knit it; pull through so that there are two loops on your needle.
Step 3: Thread that same yarn ends through just one of those loops so that there’s only one loop left on your needle.
Step 4: Then pass this single loop off onto another piece of scrap yarn or something similar to prevent it from unraveling later.
Adding Stripes
Step 1: When you’re knitting a pair of striped socks, the first thing to do is decide which colour you want to be dominant. This will be the colour that runs along the outside edge of your sock and around all four sides; it will also be used for most pattern stitches.
Step 2: Then, choose a contrast colour for adding a stripe pattern. You could select another solid or semisolid yarn for this or use something more wild like neon orange or hot pink.
Step 3: The next step is to find out how many rows of each type of yarn you need to make your stripes work out properly: How many rounds will it take?
For example, if one stripe uses two rows while another uses three rounds and then an additional round after that last row, then this means that each pair should have exactly six rounds total — four rounds with both colours plus two extra rows.
Step 4: Next, make sure these stripes match up in places they meet together, such as at corners like toes or heels.
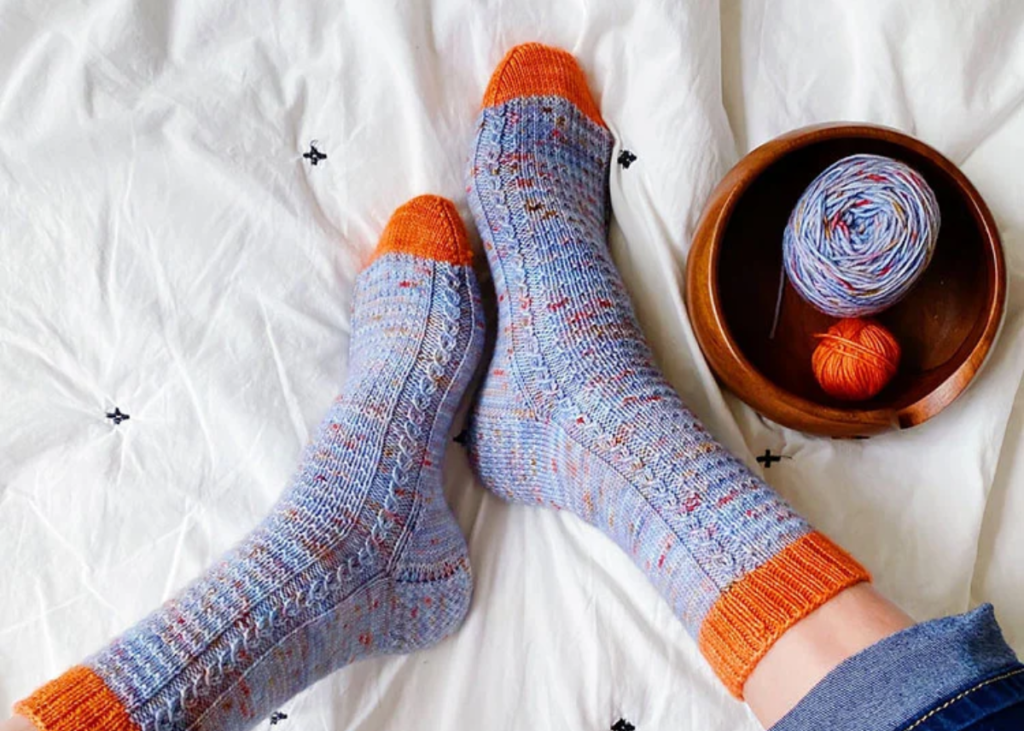
Finishing Up the Socks
Step 1: Once you’ve completed the toe and heel, you’ll need to bind off. Bind off as you would on any other type of knitting project.
For example, if you used a regular bind-off method that involves casting on one extra stitch (for example) and then knitting two stitches together until there are no more stitches left, then use this same technique for these socks.
Step 2: Be sure to weave in all ends so that your finished product does not contain stray bits of yarn sticking out everywhere!
Step 3: Once the knitting is complete and ready for wear, it’s time for blocking. To block, pin new knit things down into shape by wetting them with lukewarm water and drying it.
Step 4: You can use rust-proof pins or clips as needed and leave them clipped overnight.
Step 5: You can remove the pins or clips in the morning and admire how nice they look!
And that’s it. You are now ready to begin knitting your pair of socks. Good luck with your first pair of socks!