
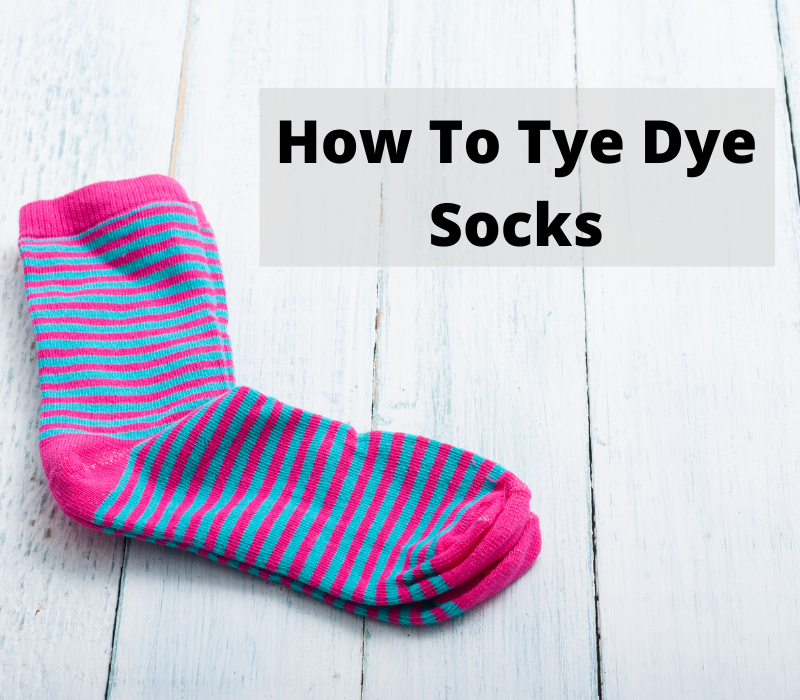
How to Tie Dye Socks?
Tie dye socks is such a fun project. It adds more customization and sparkle to your promotional and branding gear. There are various ways to create an epic look with the beautifully tie dye socks. The tie dye can be found in almost everything, but here we will discuss how to tie dye socks.
What type of socks can you tie dye?
Tie dye of the socks starts with getting the right socks. Remember that every type of socks will not work well, so it is pretty obvious to choose the right material.
First, ensure that the socks you select are white and should not be ankle socks. Also, it would be best if you chose the socks, which are 75% cotton, as this stuff will accept the dye best. Other materials like polyester will not provide the best result, and the final product will look faded.
What supplies are required to tie dye socks?
The best quality of tie and dye starts with quality products only. The dye colours you use play a significant role as nonstandard dye colours will not give you the desired result.
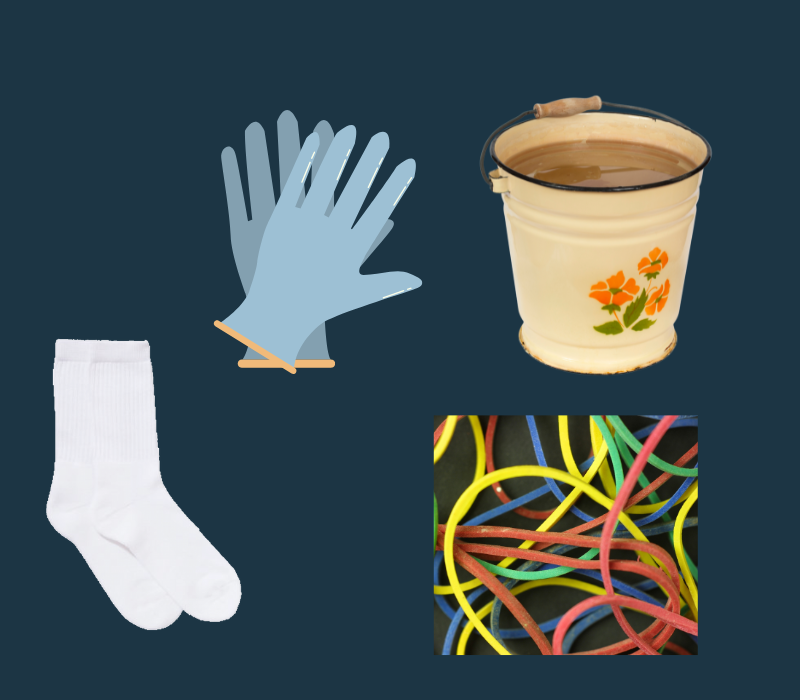
Below is the complete list of supplies you need to tie dye your socks at home.
- Gloves to protect your hands.
- Rubber bands to tie your socks and to create a beautiful pattern.
- Squirt bottles for tie and dye process.
- White cotton socks.
- A plastic sheet or tulip cover to protect the floor/area where you will do tie dye.
- Container or bowl of water.
- An additional bowl or plastic tote to hold your socks.
If you do not have any of these supplies, you can easily buy a tie dye kit from the market, which includes everything you need to start your first project.
How to tie dye socks at home?
Now, we have the required items for tie dye, i.e., pair of cotton socks and a tie dye kit. Let’s check out how to start the first project.
Step 1 – Wet the socks
To make the dye hold better, you must soak the socks in the water. Simply fill a bowl with water and soak a pair of cotton socks in it and wire them out over the bowl. You can also throw the wet cotton socks in the plastic tote for now and can continue dipping the socks until they are ready to use.
Step 2 – Fold and tie your socks
The tricky part of the tie dye project is folding the socks and preparing them for dying. There are various methods to fold, roll and twirl the cotton socks for tie dying, but to make it simple, you need to roll the socks together and rubber bands them to look like a pie or a cylinder. In this way, you can adequately cover the socks in colour.
Step 3 – Prepare your dye colours
After preparing the sock for the tie dye process, you need to prepare your dye colours by diluting them. The ratio of colour and water usually depends on the brand of colours, but mostly the ratio is around two tablespoons of colour in a cup of water.
To ensure that the colour is appropriately coated on the socks, you can put a tablespoon of salt in the mixture of water and colour. You can use any colour from the rainbow collection of red, yellow, green, blue, and purple. You can be as crazy as you want and can select any combination of colours to dye your socks.
After diluting the selected colours, you need to fill the squirt bottles. Shake the bottles to mix the colours properly, and now is the time for the fun part, i.e., the actual process of dying.
Step 4 – Dye the cotton socks
It is the most exciting part of the tie dye process. Spread the plastic sheet on the floor or where you want to tie dye. Begin with one colour every time and start dying each pie slice of the sock.
Pour one colour at a time and fill the crevices in the rolled socks to ensure that every corner of the sock is soaked up in colour. Otherwise, you will end up with the white blotches on your socks, and the result will not be that good.
Step 5 – Let the socks sit for 12 hours
When the socks are completely soaked up in the dye, you have to leave them aside for at least 12 hours or overnight to ensure the fibre of the socks soaks up all the colour. Check after 12 hours. By this time, your socks must have dried. Now move to the next step.
Step 6 – Wash the coloured socks
As the socks are dried now, remove all the rubber bands from the socks and take them to the sink or garden hose. You have to rinse the socks well until you see clear water running through, or you can put them in the washing machine. Begin with a simple cold rinse cycle to remove the extra dye (do not put detergent). After that, wash it properly with some detergent.
Step 7 – Dry the socks
You can simply dry the socks by putting them in your garden or use the hottest cycle of your drying machine to dry them out. After this, your job is done. Now you can wear your beautiful pair of tie dye socks.
Wrap up
Now you can grab your tie dye kit and follow the above steps to begin your first project. But be very careful as the workstation may absorb some dye colour, so cover it adequately. If possible, do this activity in the backyard. Also, use an apron to keep your clothes clean.