How to Tie Dye Socks?

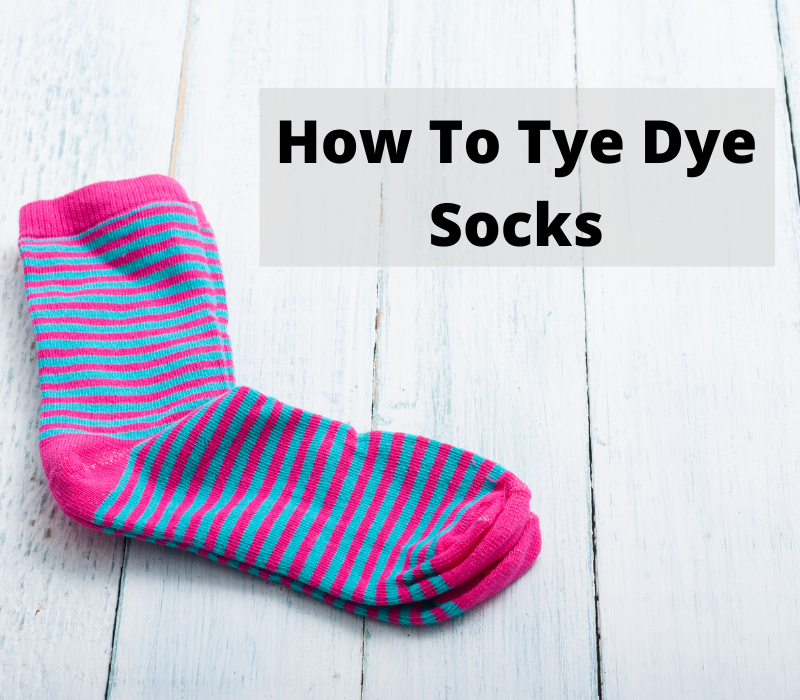
Tie dye socks is such a fun project. It adds more customization and sparkle to your promotional and branding gear. There are various ways to create an epic look with the beautifully tie dye socks. The tie dye can be found in almost everything, but here we will discuss how to tie dye socks.

What type of socks can you tie dye?

Tie dye of the socks starts with getting the right socks. Remember that every type of socks will not work well, so it is pretty obvious to choose the right material.

First, ensure that the socks you select are white and should not be ankle socks. Also, it would be best if you chose the socks, which are 75% cotton, as this stuff will accept the dye best. Other materials like polyester will not provide the best result, and the final product will look faded.  

What supplies are required to tie dye socks?
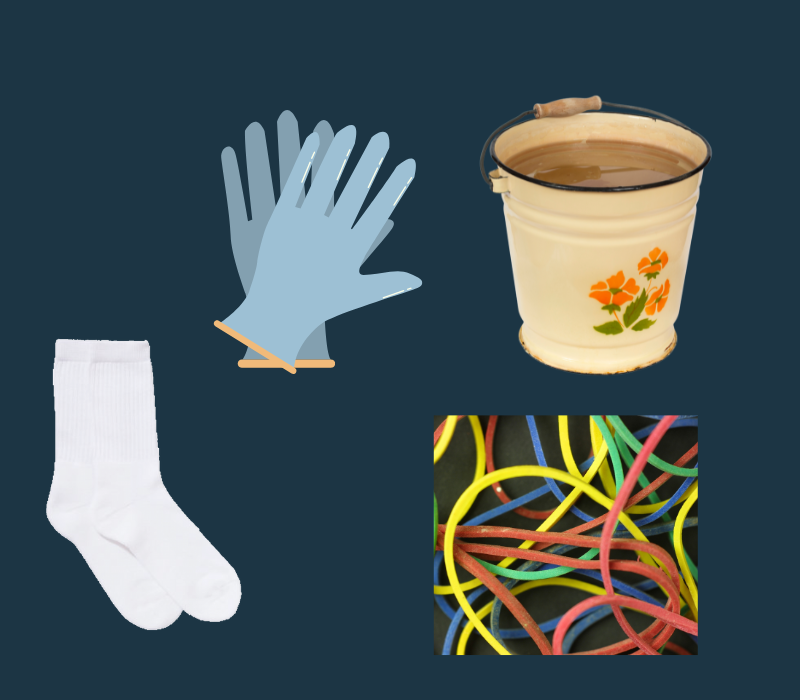
supplies for tye dye

The best quality of tie and dye starts with quality products only. The dye colours you use play a significant role as nonstandard dye colours will not give you the desired result.

Below is the complete list of supplies you need to tie dye your socks at home.

  • Gloves to protect your hands.
  • Rubber bands to tie your socks and to create a beautiful pattern.
  • Squirt bottles for tie and dye process.
  • White cotton socks.
  • A plastic sheet or tulip cover to protect the floor/area where you will do tie dye.
  • Container or bowl of water.
  • An additional bowl or plastic tote to hold your socks.

If you do not have any of these supplies, you can easily buy a tie dye kit from the market, which includes everything you need to start your first project.

How to tie dye socks at home?

tye dye

Now, we have the required items for tie dye, i.e., pair of cotton socks and a tie dye kit. Let’s check out how to start the first project.

Step 1 – Wet the socks

To make the dye hold better, you must soak the socks in the water. Simply fill a bowl with water and soak a pair of cotton socks in it and wire them out over the bowl. You can also throw the wet cotton socks in the plastic tote for now and can continue dipping the socks until they are ready to use.

Step 2 – Fold and tie your socks

The tricky part of the tie dye project is folding the socks and preparing them for dying. There are various methods to fold, roll and twirl the cotton socks for tie dying, but to make it simple, you need to roll the socks together and rubber bands them to look like a pie or a cylinder. In this way, you can adequately cover the socks in colour.

Step 3 – Prepare your dye colours

After preparing the sock for the tie dye process, you need to prepare your dye colours by diluting them. The ratio of colour and water usually depends on the brand of colours, but mostly the ratio is around two tablespoons of colour in a cup of water.

To ensure that the colour is appropriately coated on the socks, you can put a tablespoon of salt in the mixture of water and colour. You can use any colour from the rainbow collection of red, yellow, green, blue, and purple. You can be as crazy as you want and can select any combination of colours to dye your socks.

After diluting the selected colours, you need to fill the squirt bottles. Shake the bottles to mix the colours properly, and now is the time for the fun part, i.e., the actual process of dying.

Step 4 – Dye the cotton socks

It is the most exciting part of the tie dye process. Spread the plastic sheet on the floor or where you want to tie dye. Begin with one colour every time and start dying each pie slice of the sock.

Pour one colour at a time and fill the crevices in the rolled socks to ensure that every corner of the sock is soaked up in colour. Otherwise, you will end up with the white blotches on your socks, and the result will not be that good.

Step 5 – Let the socks sit for 12 hours

When the socks are completely soaked up in the dye, you have to leave them aside for at least 12 hours or overnight to ensure the fibre of the socks soaks up all the colour. Check after 12 hours. By this time, your socks must have dried. Now move to the next step.

Step 6 – Wash the coloured socks

As the socks are dried now, remove all the rubber bands from the socks and take them to the sink or garden hose. You have to rinse the socks well until you see clear water running through, or you can put them in the washing machine. Begin with a simple cold rinse cycle to remove the extra dye (do not put detergent). After that, wash it properly with some detergent.

Step 7 – Dry the socks

You can simply dry the socks by putting them in your garden or use the hottest cycle of your drying machine to dry them out. After this, your job is done. Now you can wear your beautiful pair of tie dye socks.  

Wrap up

Now you can grab your tie dye kit and follow the above steps to begin your first project. But be very careful as the workstation may absorb some dye colour, so cover it adequately. If possible, do this activity in the backyard. Also, use an apron to keep your clothes clean.

What Do Compression Socks Do

Compression socks, also known as compression stockings, help to treat and prevent a wide range of issues in the legs and feet. They use compression therapy to promote blood flow to lower limbs to reduce the pain and swelling in the legs and ankles.

Even though compression socks are generally prescribed by professional medical practitioners, people who are aware of their benefits are also known to use them.  However, before you start using the compression stockings, it is important to gain a proper understanding of them. Read on to know more about these special socks, the benefits of using them, and usage tips and guidelines.

What Are Compression Socks?

Compression socks are specially manufactured snug-fitting socks designed for medical use. These stretchy socks apply gentle pressure to the calves and ankles of the users to help promote blood flow.

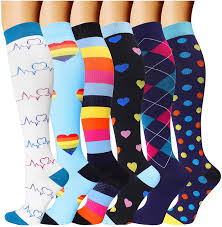
They come in various sizes, lengths, colors, and compression strengths of different levels. No two compression socks are the same and the quality of the material, the size, the durability, and the amount of compression are decided as per the needs of individual users.

What Are Compression Socks For?

Compression socks are generally used for treating conditions that affect the circulation of blood in the lower limbs. Depending on the specific problem that the patients are suffering from, they might need to wear these socks for several years or even for the rest of their life.

Compression stockings are specially designed to provide relief in a variety of conditions. These include varicose veins, lymphoedema, and deep vein thrombosis which can cause much discomfort to the patients.

Types Of Compression Socks

There are three main types of compression socks available in the market today. These include the following.

Graduated Compression Stockings

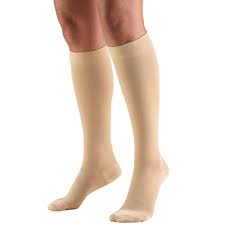
The graduated compression stockings apply the strongest pressure at the ankles. The pressure decreases gradually on moving higher up the leg. These socks are designed to meet the specific length and strength needs medically and offer better mobility compared to other compression stockings. The socks require a professional fitting and are typically available in either knee-high or thigh-high lengths. The former proves effective for limiting swelling in the lower leg due to fluid buildup. The stockings of thigh-high length prove effective in reducing blood pooling in the legs to prevent orthostatic hypotension.

Anti-Embolism Stockings

ANTI EMBOLISM SOCKINGS

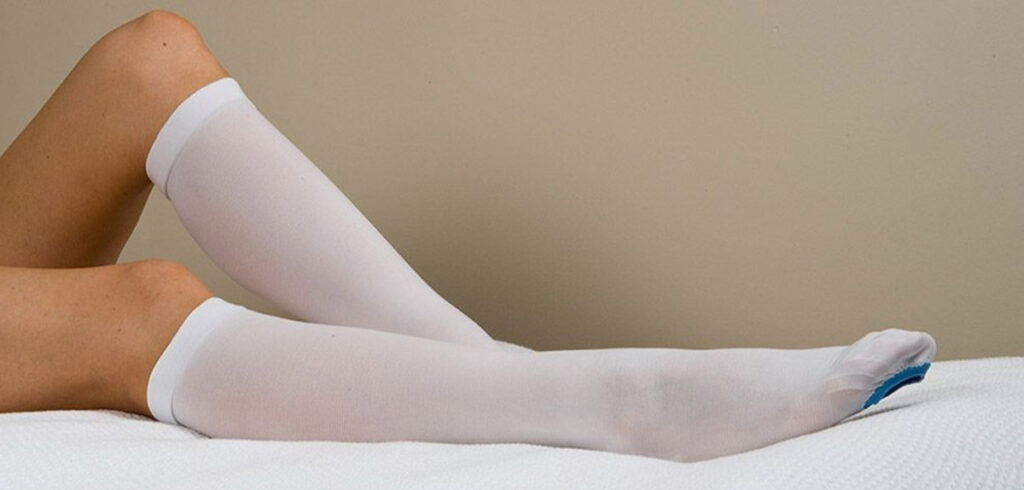
Anti-embolism stockings are designed for a more specific purpose namely reducing the risk of deep vein thrombosis. These stockings also provide gradient compression although the level of compression differs significantly. Anti-embolism stockings prove extremely beneficial for patients who are confined to bed after surgery or have limited mobility. These stockings help to maintain circulation in such patients and thus prevent blood clots for bed-bound patients.

Nonmedical Support Hosiery

Unlike graduated and anti-embolism stockings, the nonmedical support hosiery does not require any prescription. This type of compressed stocking generally includes an elastic support hose or flight socks, which prove effective in offering relief for tired, aching legs. These compression stockings offer uniform compression to exert less pressure as compared to prescription stockings. Nonmedical support hosiery is readily available at most pharmacies and various online medicine stores.

Common Benefits Offered By Compression Socks

As mentioned before, compression stockings can provide a wide range of health benefits. The most common of these benefits include the following.

  • Wearing these stockings helps to boost blood circulation in the legs.
  • The gentle pressure exerted by the stockings helps to support the veins.
  • The improved circulation caused by compression stockings helps to prevent the pooling of blood in the veins.
  • Enhanced blood flow also helps to reduce the risk of swelling in the legs and ankles due to water accumulation.
  • Wearing compression stockings is known to reduce orthostatic hypotension, which makes people feel lightheaded or unsteady when they stand.
  • The use of compression stockings is known to reduce the risk of venous ulcers and deep vein thrombosis in the legs.
  • For people suffering from the pain caused by varicose veins, wearing compression socks can provide great relief.
  • Compression stockings are also effective in improving lymphatic drainage and preventing reverse venous hypertension.

Precautions To Follow While Wearing Compression Socks

Compression socks precautions

Compression stockings work by squeezing the veins and muscles in the leg and wearing them as instructed is quite safe and free from complications. However, when the socks are not used properly or cared for these stockings may cause various complications for users. These complications may range from impaired skin integrity to serious pressure injuries. The best way to avoid any complications is to follow the precautions listed below while using compression socks.

Use The Right Sized Socks

Users should make sure that their compression socks are neither too tight nor do they cause any pain. For this, they should do proper research to choose the appropriately sized socks after proper consultation with their doctor. Wearing compression socks that are too tight can cause severe tissue damage by cutting off both blood and oxygen supply.

Seek Professional Advice

Since compression stockings are designed for medical purposes, it is better to seek the advice of an expert medical professional before using them. This is because compression stockings can prove dangerous in certain health conditions and should be avoided by patients suffering from the same. These conditions may include heart problems, inflammation of veins, infections of the skin, etc.

Final Thoughts

Even though compression socks have existed for decades, they have been largely underutilized for treating the problems in the lower limbs of patients. Thankfully this trend is changing with both medical professionals and common people becoming aware of the various benefits of using these socks.

How To Fold socks

Socks are without doubt one of the things that are often noticed getting multiplied in the laundry basket and keeping them sorted and organized seems like an impossible task.

Does your closet have a drawer space that is full of jumbled socks? In case your sock drawer is overflowing then indeed finding a matching pair of ankle socks becomes a real struggle every morning. Are you thinking of any solution to go for rolled socks instead of jumbled ones?

Why you should fold socks

folded socks

Socks are one of the overlooked items when it is to folding the laundry as it is so simple to throw them in one of the corner drawers. But we here give you an eye-opener and tell you the right reasons for going for a folded sock in order to make the morning search for a sock much easy:

  • The top cuff of the socks adds the much-needed finishing touch to any outfit that you wear. It helps you appear more put together and less unorganized.
  • The well-kept ankle socks often help in stealing moments and earning brownie points during significant events such as job interviews and first blind dates.
  • A well-kept socks drawer helps in staying organized and also saves time when one needs to rush in the morning hours.
  • With the organized drawer, you don’t have to scramble to find any type of socks is it the knee-high socks. Also, you get more space in the drawer to keep other daily use things.

How do you fold socks?

Well, after reading the above section, you must be thinking about how to fold socks and organize the sock drawer.

With a couple of steps and tips to fold socks using the space-saving sock folding method, your sock drawer will look professional and organized. Even if you are not that neatness freak, but still eyeing gaining some drawer space, then learning how to fold socks can be really helpful.

Some creative ways to fold socks

The traditional way of folding socks that have been passed down for innumerable generations may help you stay organized, but it usually leads to losing elastic of one of the pairs of socks, usually the bottom sock. Also searching for them in the morning needs enough time which none of us has. It’s thus high time that we learn some creative yet simple ways to fold socks rather than just tucking or rolling the socks into a ball and engraving them into the drawer.

Basic roll method

This is the easiest way to keep the socks organized and at the same time avoid unnecessary stretching. This method works the best when it is more about speed than the space in the sock drawers. This is the best method when there is a lot of room in the drawer and you are looking for a simple hack to get the socks to look organized without investing much time.

socks roll

Square method

For this method of folding socks, the socks are placed on top of each other in order to achieve a perpendicular shape like that of a crisscross. This also saves space as one sock is folded over the other sock. This makes the task of getting the sock drawer organized much simpler, and easier and also helps in achieving a uniform look. This method of folded socks works best when there are different colors of socks available to you. Few people consider this method as a time-consuming one, however, that is just a myth. This is a quick method where one sock is put vertical and another horizontal over it to get the cross shape. Then the bottom sock’s toe is taken and folded over and tucked underneath the horizontal one. The same is repeated and folded over the outer cuff. This method is very neat and the small square pattern achieved makes the drawer looks ultra tidy.

KonMari Method

This is a minimalist sort of approach to making a tidy socks drawer. In this method, the top sock is kept on its mate and is visually cut into thirds, fourths, and fifths for ankle socks, mid-length socks, and knee-high socks respectively. The folds are then made along the imaginary lines so made. The boutique-like socks are then placed in the drawer standing up.

Military method

Folding socks in military-style is one of the great methods of folding socks that makes sense to each and every one. This method, in comparison, to other methods helps in saving time when the sock needs to be pulled out from a pile of clothes. In this method, the socks are laid down on a flat surface next to each other and the heel bump of the toe ends are folded. One sock is then placed one inch over the other. The two cuffs are then rolled out tightly about an inch at a time. The inside of the socks is then pulled out.

Flip and Tuck method

Several YouTube channels showcase the videos for this method. However, this method will not help in organising your drawer, it is just a way to keep both pairs of socks together. One sock is kept over the other on a flat surface. Then grab one of the cuffs and flip it inside out and at the same time tuck both socks about halfway into the stack. The toes are seen hanging outside the tuck.

Ranger Roll

The Ranger roll method helps in keeping the socks organized and together. The method is considered the best when socks need to be folded for traveling purposes such as a hike, business trip etc.

No show sock fold

The socks are laid on a flat surface with tops facing up. The socks are then rolled from the toe end to reach the heel. The roll is then tucked into the bottom sock. The one cuff of the sock fold so compactly that nothing can be seen.

Folding dress socks

Dress socks are made of fine material and are thinner. So, these need to be folded very carefully and the elastic band present around the ankle should not be stretched or damaged. One sock is kept at the top of the other and toe ends are folded over them for one more time. The outer cuff ends and tucks are folded inside so that no crease is formed and stored in a neat manner.

Fold and Tuck Method

This method is also considered one of the best things one can do to stay organized. Both the socks are laid on a flat surface with one over the other and the heels should face up. The cuff ends are folded halfway. The toe ends then stretch to meet the cuff ends and the toes are tucked into the top cuffs.

Conclusion

The above-mentioned are some of the exclusive ways to fold socks. They may appear to be tricky, but in reality, they are just the basic ones. When one uses the right method for folding, the task of folding seems to be a regular thing, However, folding the socks the wrong way can make even the best pair of socks less comfortable. Irrespective of the material of the socks, be it cotton or silk, folding the socks properly to store them can help in extending the life of the sock and help in staying looking sharp.

We encourage you to try the above methods for folding the socks. The method that one chooses should fit the personality and schedule of the person and the pairs should be kept together.

How to Knit Socks?

Even though personalized socks are the new z thing these days, but knitting the socks by yourself and gifting them still have emotional values attached to them.

Many people think that socks are too hard, but don’t worry! This tutorial will provide step-by-step instructions and pictures for making your first pair of socks.

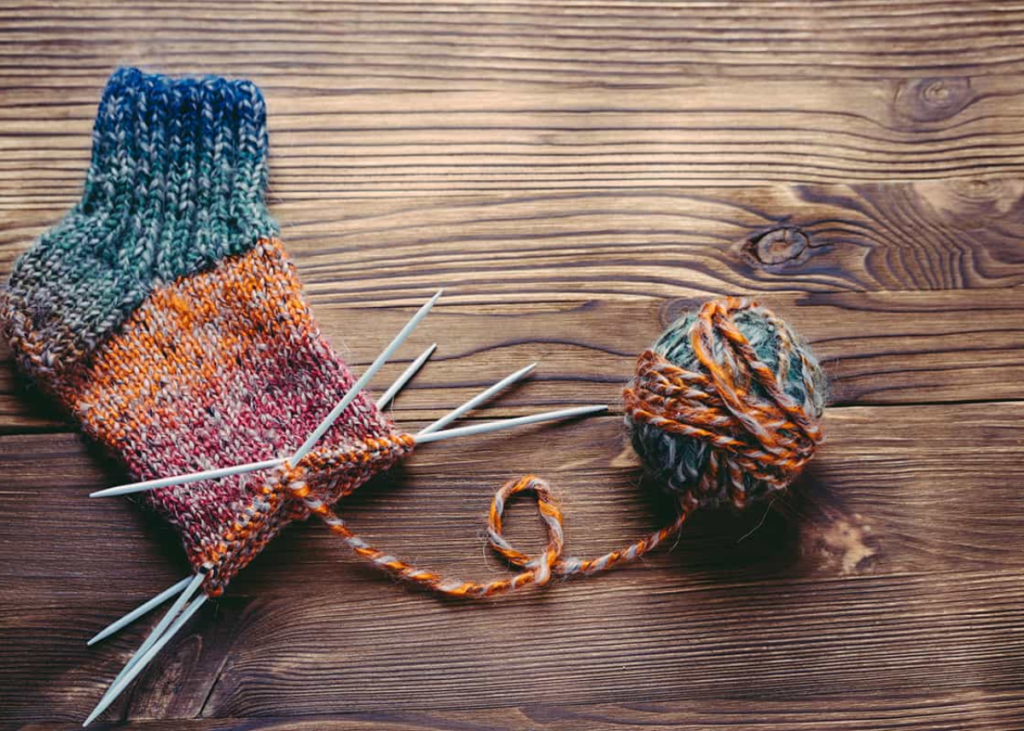
Knitting socks is the easiest way to learn the basics of knitting. You can knit some plain socks while learning the basics of knitting, like casting on and off, using double-pointed needles to make slipper socks with yarn and then move on to different patterns that challenge your creativity.

So sit back and get comfortable! We’re about to demystify the fun and exciting world of knitting socks.

The Quick & Easy Way to Knit Socks

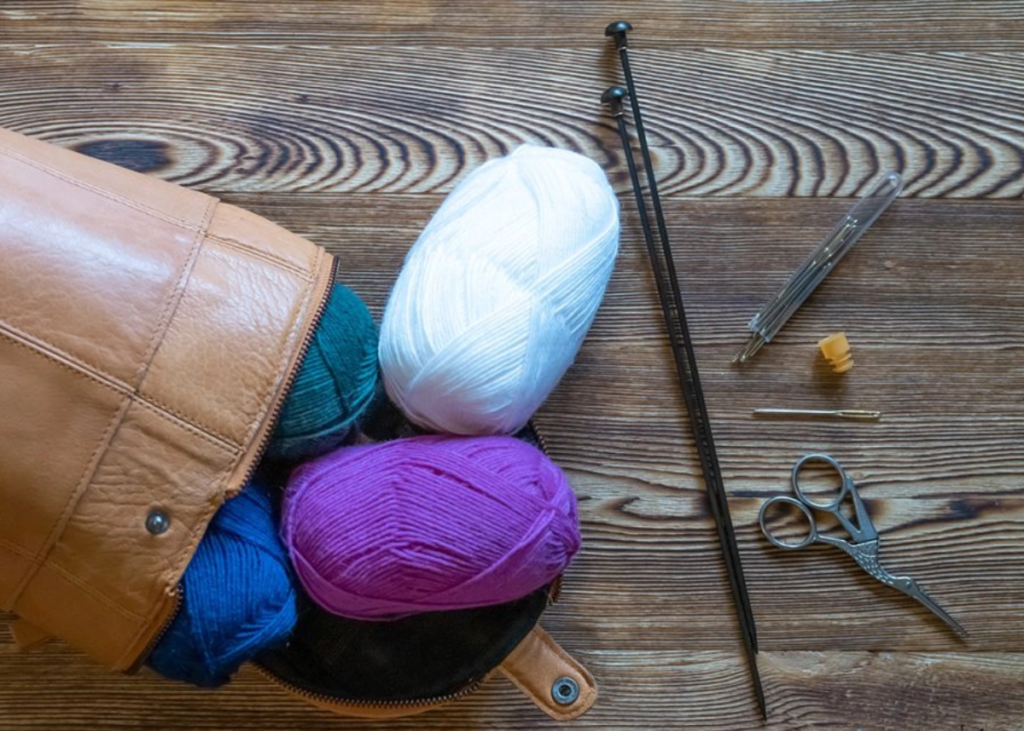
Choosing Materials for Knitting

Choosing Materials for Knitting

If you are a beginner, it is better to choose the material that will be comfortable to wear. For example, if you do not like wool socks, it is better not to knit them from this material.

If you are an experienced knitter and have decided on this project, consider your skills and abilities. If your experience allows for knitting socks with cable or lace patterns using several strands of yarn at once, then perhaps these socks would be good for you.

Casting on Stitches: How to Pick a Pattern?

Casting on is the first step in knitting socks. It is also called casting on or binding off — the process that creates the base for your first row. This can be done with either needles or a crochet hook. It involves casting stitches onto the needles, then used to make the fabric.

When you knit your first sock, you should ensure that your cast-on is strong enough to hold together. The best way to do this is to use an elastic cast-on stitch to keep its tension throughout the knitting process.

Cast on stitches will depend on the pattern you follow and your own preference, but generally speaking, the number of stitches starts from 8-10 total and increases from there as you knit more rows. You will usually cast on double that amount so that there are two loops per stitch when working with continental-style knitting.

The number of stitches you cast on will vary based on the size of your foot and the sock pattern you’re using.

Knitting the Gusset and Heel Flap

The gusset and heel flap are the two parts of a sock that are worked back and forth. The gusset is a triangular-shaped piece that is added at the bottom of the foot to fit more snugly around the ankle. The heel flap is a strip of fabric that extends from the heel, up over the top of the foot, and then back down again, forming a triangle-like shape that forms the heel of your sock.

Step 1: Socks can be knit either top-down or toe-up. In both cases, you will start with a very long circular needle and cast on stitches for both the toe and the leg.

Step 2: If you plan to knit socks from the top-down, you’ll knit straight until you reach your desired length.

Step 3: You’ll then knit several rows in stockinette stitch before starting your decreases — this will help form an even edge.

Step 4: If you’re knitting from toe-up instead, after casting on all your stitches, you’ll begin by knitting straight until your sock reaches about 1 inch tall.

Step 5: You might want to try out the socks once you’re done with the gusset and the size and fit of the socks can change from person to person.

Making the Foot and Toes

To finish the toe, you can use any method that works for you.

Step 1: You can use a tapestry needle, thread one of your yarn ends through the first stitch on your dpn ( Double Pointing Knitting Needles), and then back out and over itself again.

Step 2: Thread your tapestry needle into the next stitch on your dpn as if you were going to knit it; pull through so that there are two loops on your needle.

Step 3: Thread that same yarn ends through just one of those loops so that there’s only one loop left on your needle.

Step 4: Then pass this single loop off onto another piece of scrap yarn or something similar to prevent it from unraveling later.

Adding Stripes

Step 1: When you’re knitting a pair of striped socks, the first thing to do is decide which colour you want to be dominant. This will be the colour that runs along the outside edge of your sock and around all four sides; it will also be used for most pattern stitches.

Step 2: Then, choose a contrast colour for adding a stripe pattern. You could select another solid or semisolid yarn for this or use something more wild like neon orange or hot pink.

Step 3: The next step is to find out how many rows of each type of yarn you need to make your stripes work out properly: How many rounds will it take?

Adding stripes

For example, if one stripe uses two rows while another uses three rounds and then an additional round after that last row, then this means that each pair should have exactly six rounds total — four rounds with both colours plus two extra rows.

Step 4: Next, make sure these stripes match up in places they meet together, such as at corners like toes or heels.

Finishing Up the Socks

Step 1: Once you’ve completed the toe and heel, you’ll need to bind off. Bind off as you would on any other type of knitting project.

For example, if you used a regular bind-off method that involves casting on one extra stitch (for example) and then knitting two stitches together until there are no more stitches left, then use this same technique for these socks.

Step 2: Be sure to weave in all ends so that your finished product does not contain stray bits of yarn sticking out everywhere!

Step 3: Once the knitting is complete and ready for wear, it’s time for blocking. To block, pin new knit things down into shape by wetting them with lukewarm water and drying it.

Step 4: You can use rust-proof pins or clips as needed and leave them clipped overnight.

Step 5: You can remove the pins or clips in the morning and admire how nice they look!

Finishing Up the Socks

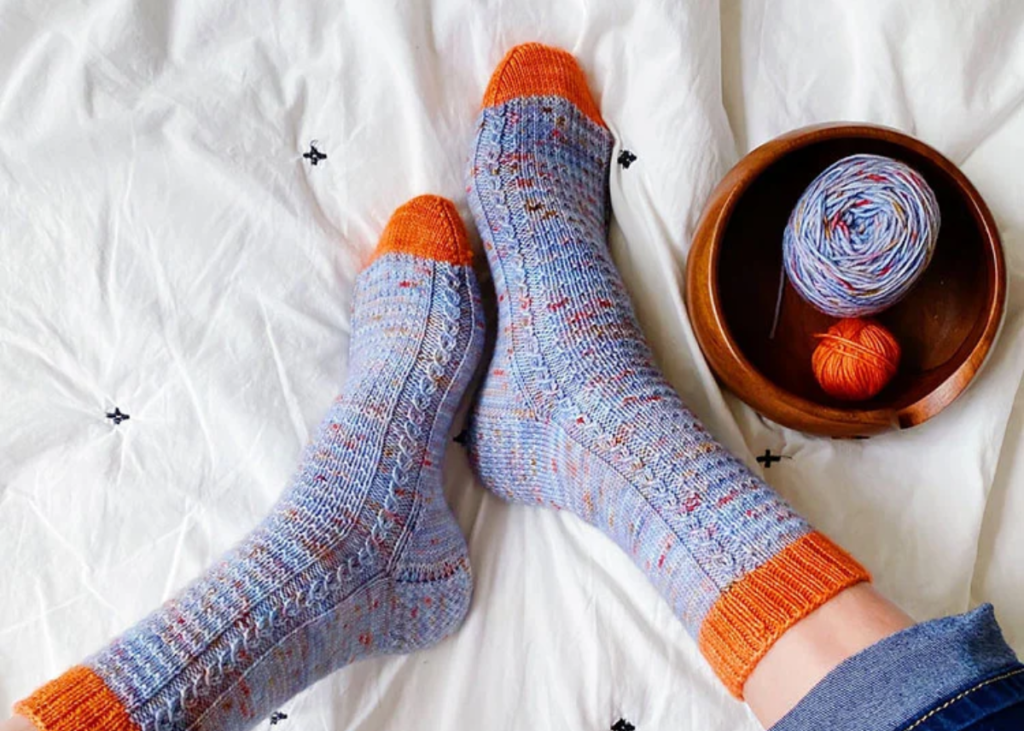
And that’s it. You are now ready to begin knitting your pair of socks. Good luck with your first pair of socks!